CMS Journal
My home page for CMS: Michael's Home Page
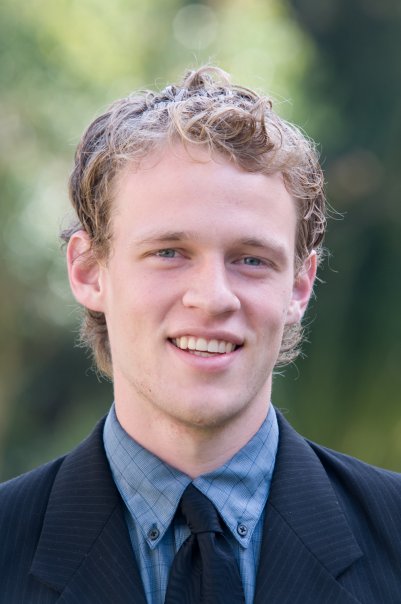
You can also see the beginnings of my modeling career here UC Davis Giving. The picture also shows up on the top right of most of the UC Davis Physics website, such as UC Davis Physics Website.
My home page for CMS: Michael's Home Page
You can also see the beginnings of my modeling career here UC Davis Giving. The picture also shows up on the top right of most of the UC Davis Physics website, such as UC Davis Physics Website.
I got started a long time ago, and so much of this has long been forgotten. I.ve had a few people look this over, to see if there is anything else that could be added, but nothing so far.
In getting a computer account, you first have to get registered with CMS. Supposedly the description of how this should be done is explained in the WorkBookGetAccount twiki. Following this is probably a better idea than what I did (which was a mismatch of following the twiki and asking people for help), but I didn.t know any better, so what I did was:
Dear Gardner Michael (UCDAVIS),
You are now registered in CMS as 'Graduate Student' from your institute (UCDAVIS).
Now you have to open a Computer Account in CMS (group ZH). Send an email to cms.computing@cern.ch with all the following information about yourself:
BEWARE: once the account is created you have only 5 days to change the temporary password. Once your CERN and CMS registrations are OK, you will be contacted by email for the next steps for your account.
Take note of the rules in Use of CERN computing facilities http://computingrules.web.cern.ch/ComputingRules. In particular, please have a look at the rules about P2P applications http://security.web.cern.ch/security/software-restrictions forbidden to use at Cern (e.g. Skype, KaZaA,...)
Best regards,
CMS secretariat
Once you get the CMS computing account, you can log in to your account with: ssh yourloginname@lxplus.cern.ch
Note that this can be done in the terminal for Mac and Linux users, and for Windows users, the best ssh client I have found is PuTTY. If you want to do anything graphical, make sure that you include the -X option (which will require you to have set up Xming with PuTTY, which instructions are here).
At this point you will be asked for your temporary password. You will want to quickly change your password. This can be done here, along with changing a variety of aspects of your account.
Now that you have an account that you can log into, you can set up a CMSSW release on lxplus. This can be done by first finding the releases that are available with: scramv1 list CMSSW
You should note that the list of CMSSW releases that show up will be tied to the value that you have for SCRAM_ARCH. More precisely:
Once you have set your SCRAM_ARCH and found the CMSSW release you want, you can set it up with: cmsrel CMSSW_X_Y_Z
Then you can start working in the directory. You can check out packages that are saved: cvs co Folder/SubFolder
If everything has been built, you can then try to run a python file: cmsRun yourConfig.py
If you haven't built everything yet in the release, then you need to run 'scramv1 b' when you are in the 'src'. In order to "unbuild", you can run 'scramv1 b clean'.
I find that the most helpful shell to use is bash, but the lxplus accounts are default with tcsh. You can check your current shell with ps -p $$, and change your shell each time with bash -l. If you want to change the default for your account, you can go to your cern account and:
With commands you may run a ton of times, it will be helpful to change the .cshrc/.bashrc files (depending on whether your account is set up for bash or csh, which it begins with csh), adding aliases, for example two helpful ones for me are:
One of the common things required in CMS is getting a GRID Certificate. In order to this you need to get a personal certificate and you need to register to the CMS VO (which requires a CERN lxplus account).
You need to get a personal certificate signed by a CMS-registered Certificate Authority here. In my case it was John Conway, but currently it is Maxwell Chertok. You can find who to contact here. You can find the procedures summarized here.
The following steps did not go as smoothly as I thought that they would. I tried to follow what was done here so I hope it goes more quickly for you than it did for me. I made a few minor mistakes along the way, so had to carry out many of the tasks twice.
Summary from a Twiki